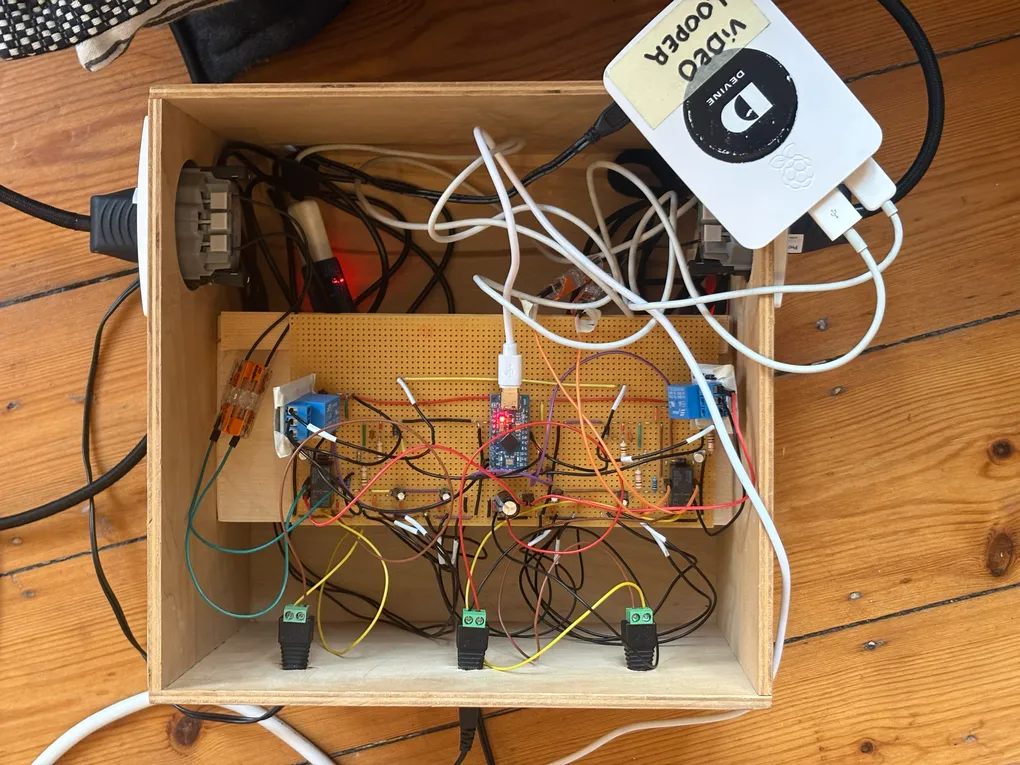
With the circuit fully soldered and (thankfully) no longer on fire, it was time to give the project a proper home.
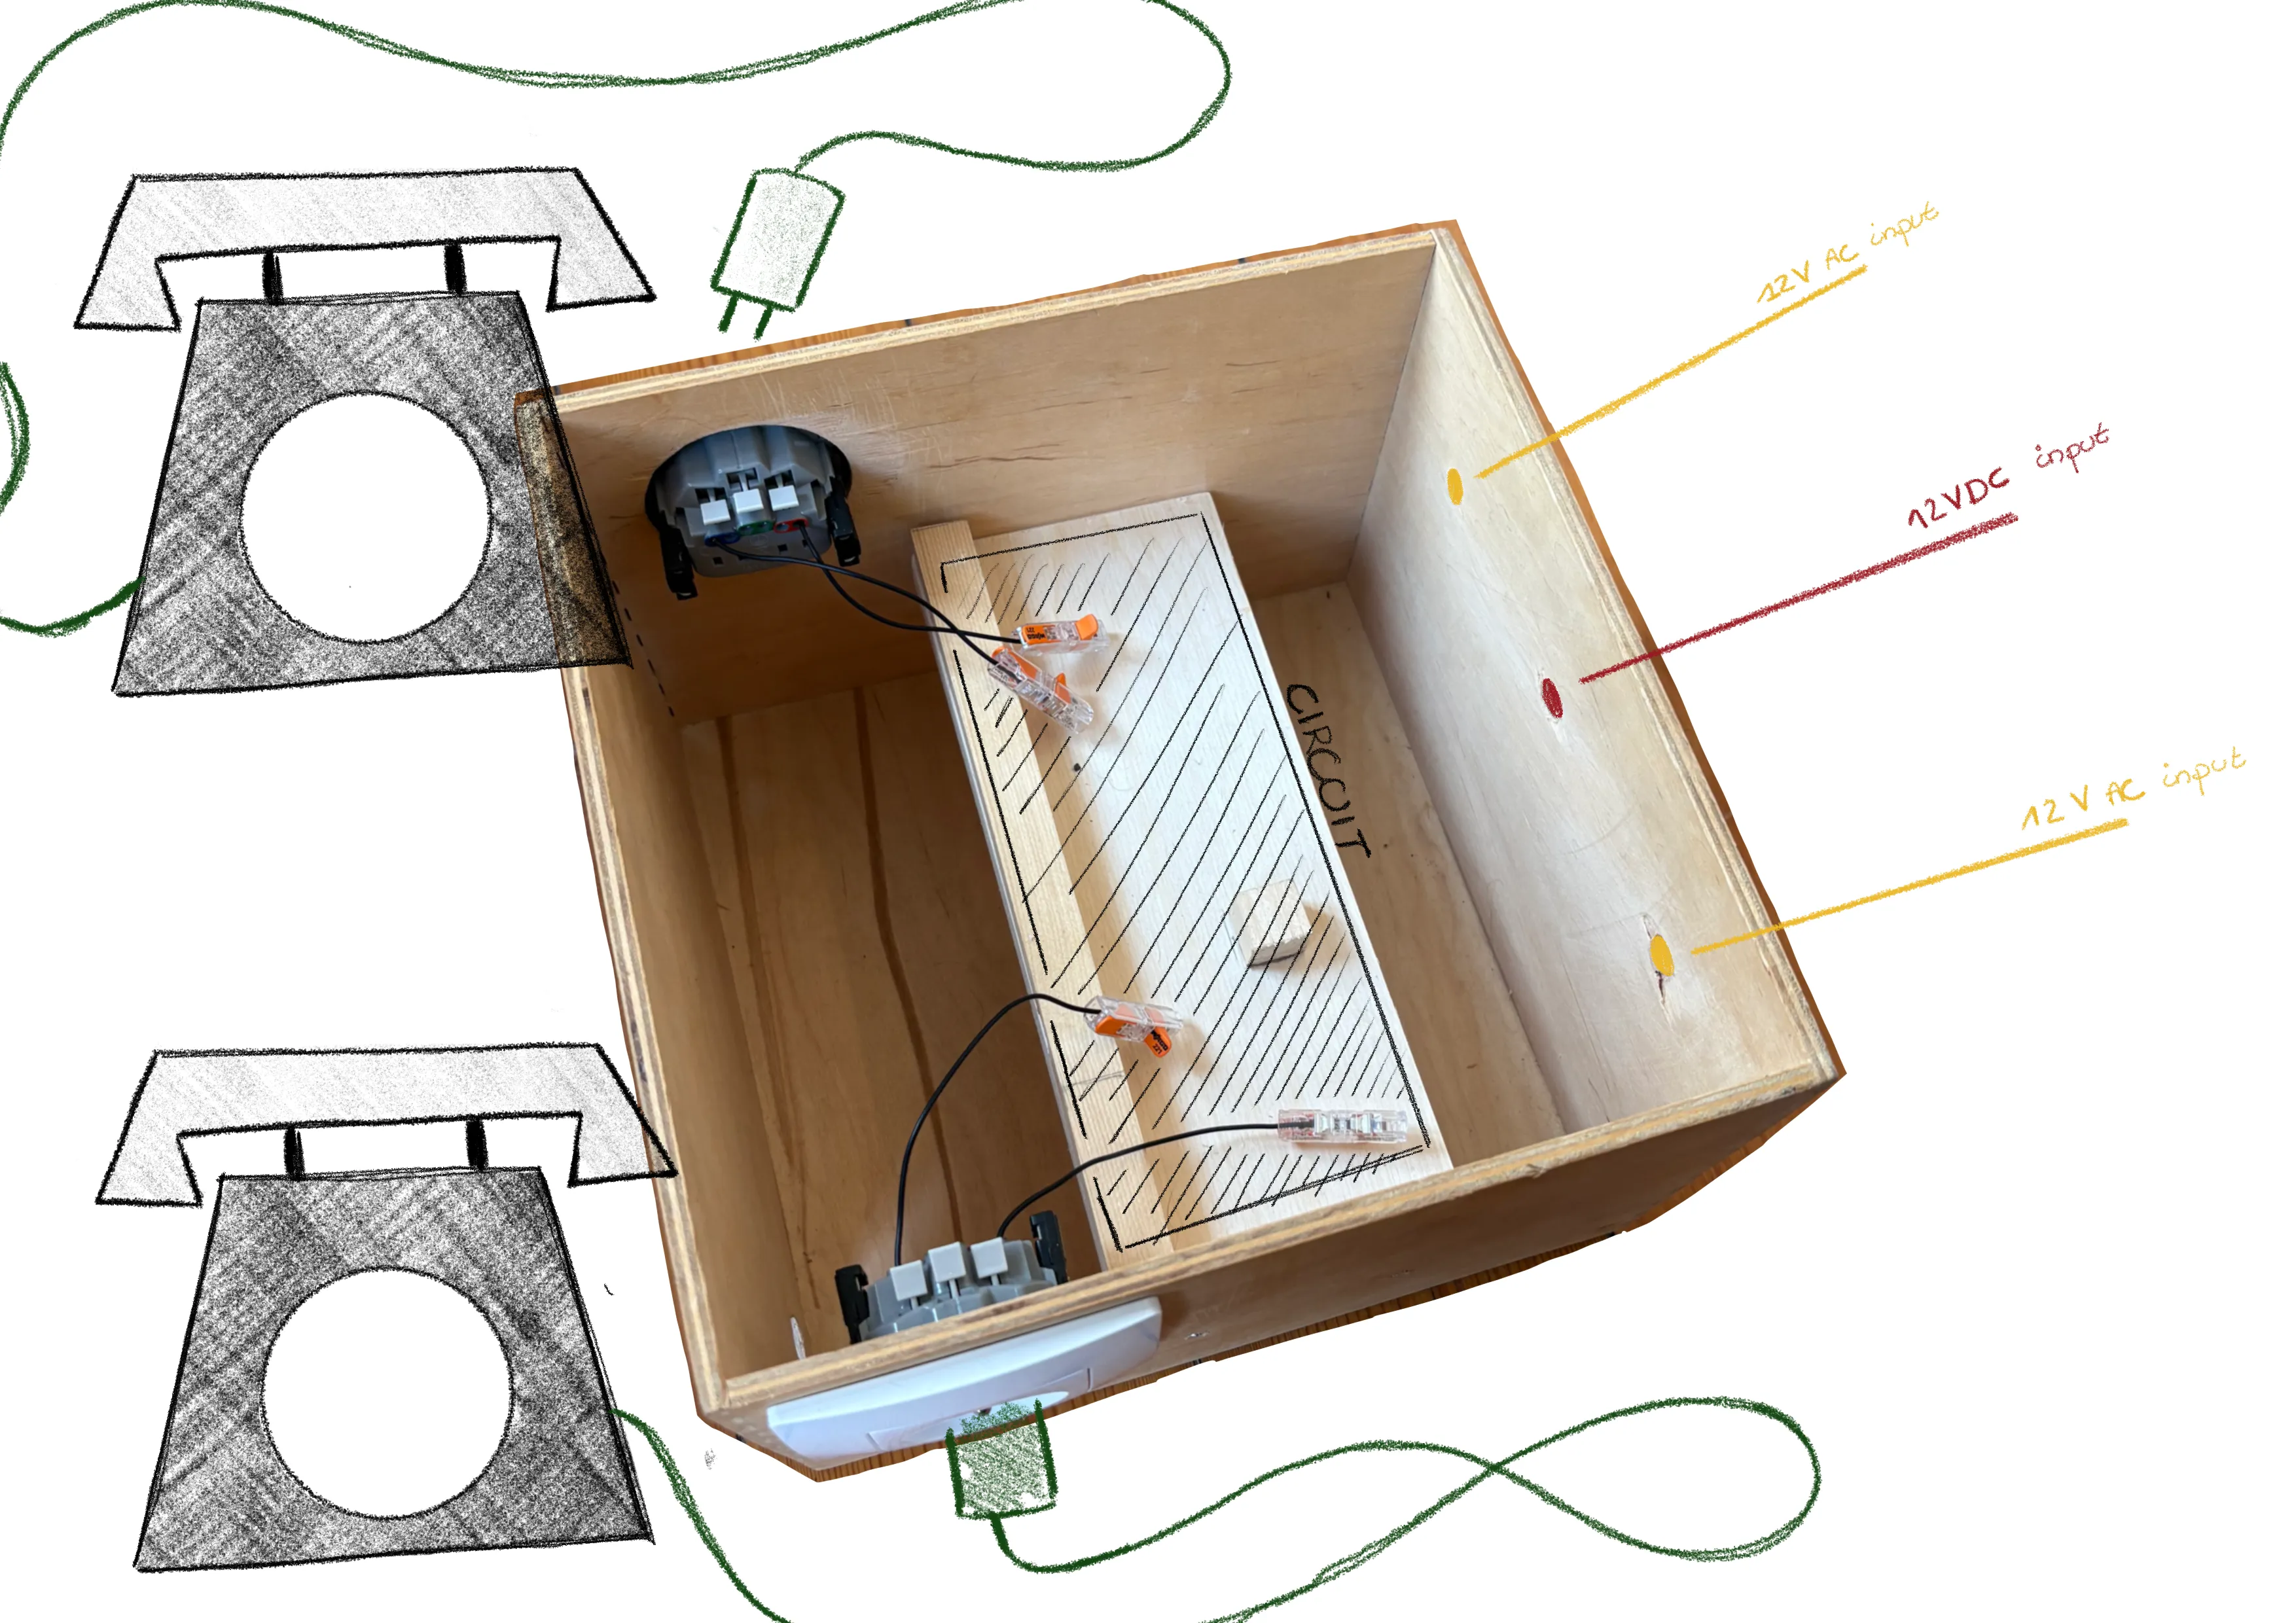
The Box
I built a custom enclosure to house all the wires and components. On the outside, I added three power inlets: one for the 12V DC logic and two for the AC circuits. Most importantly, I mounted two normal sockets on the side, allowing the vintage phones to be plugged in and swapped out easily.
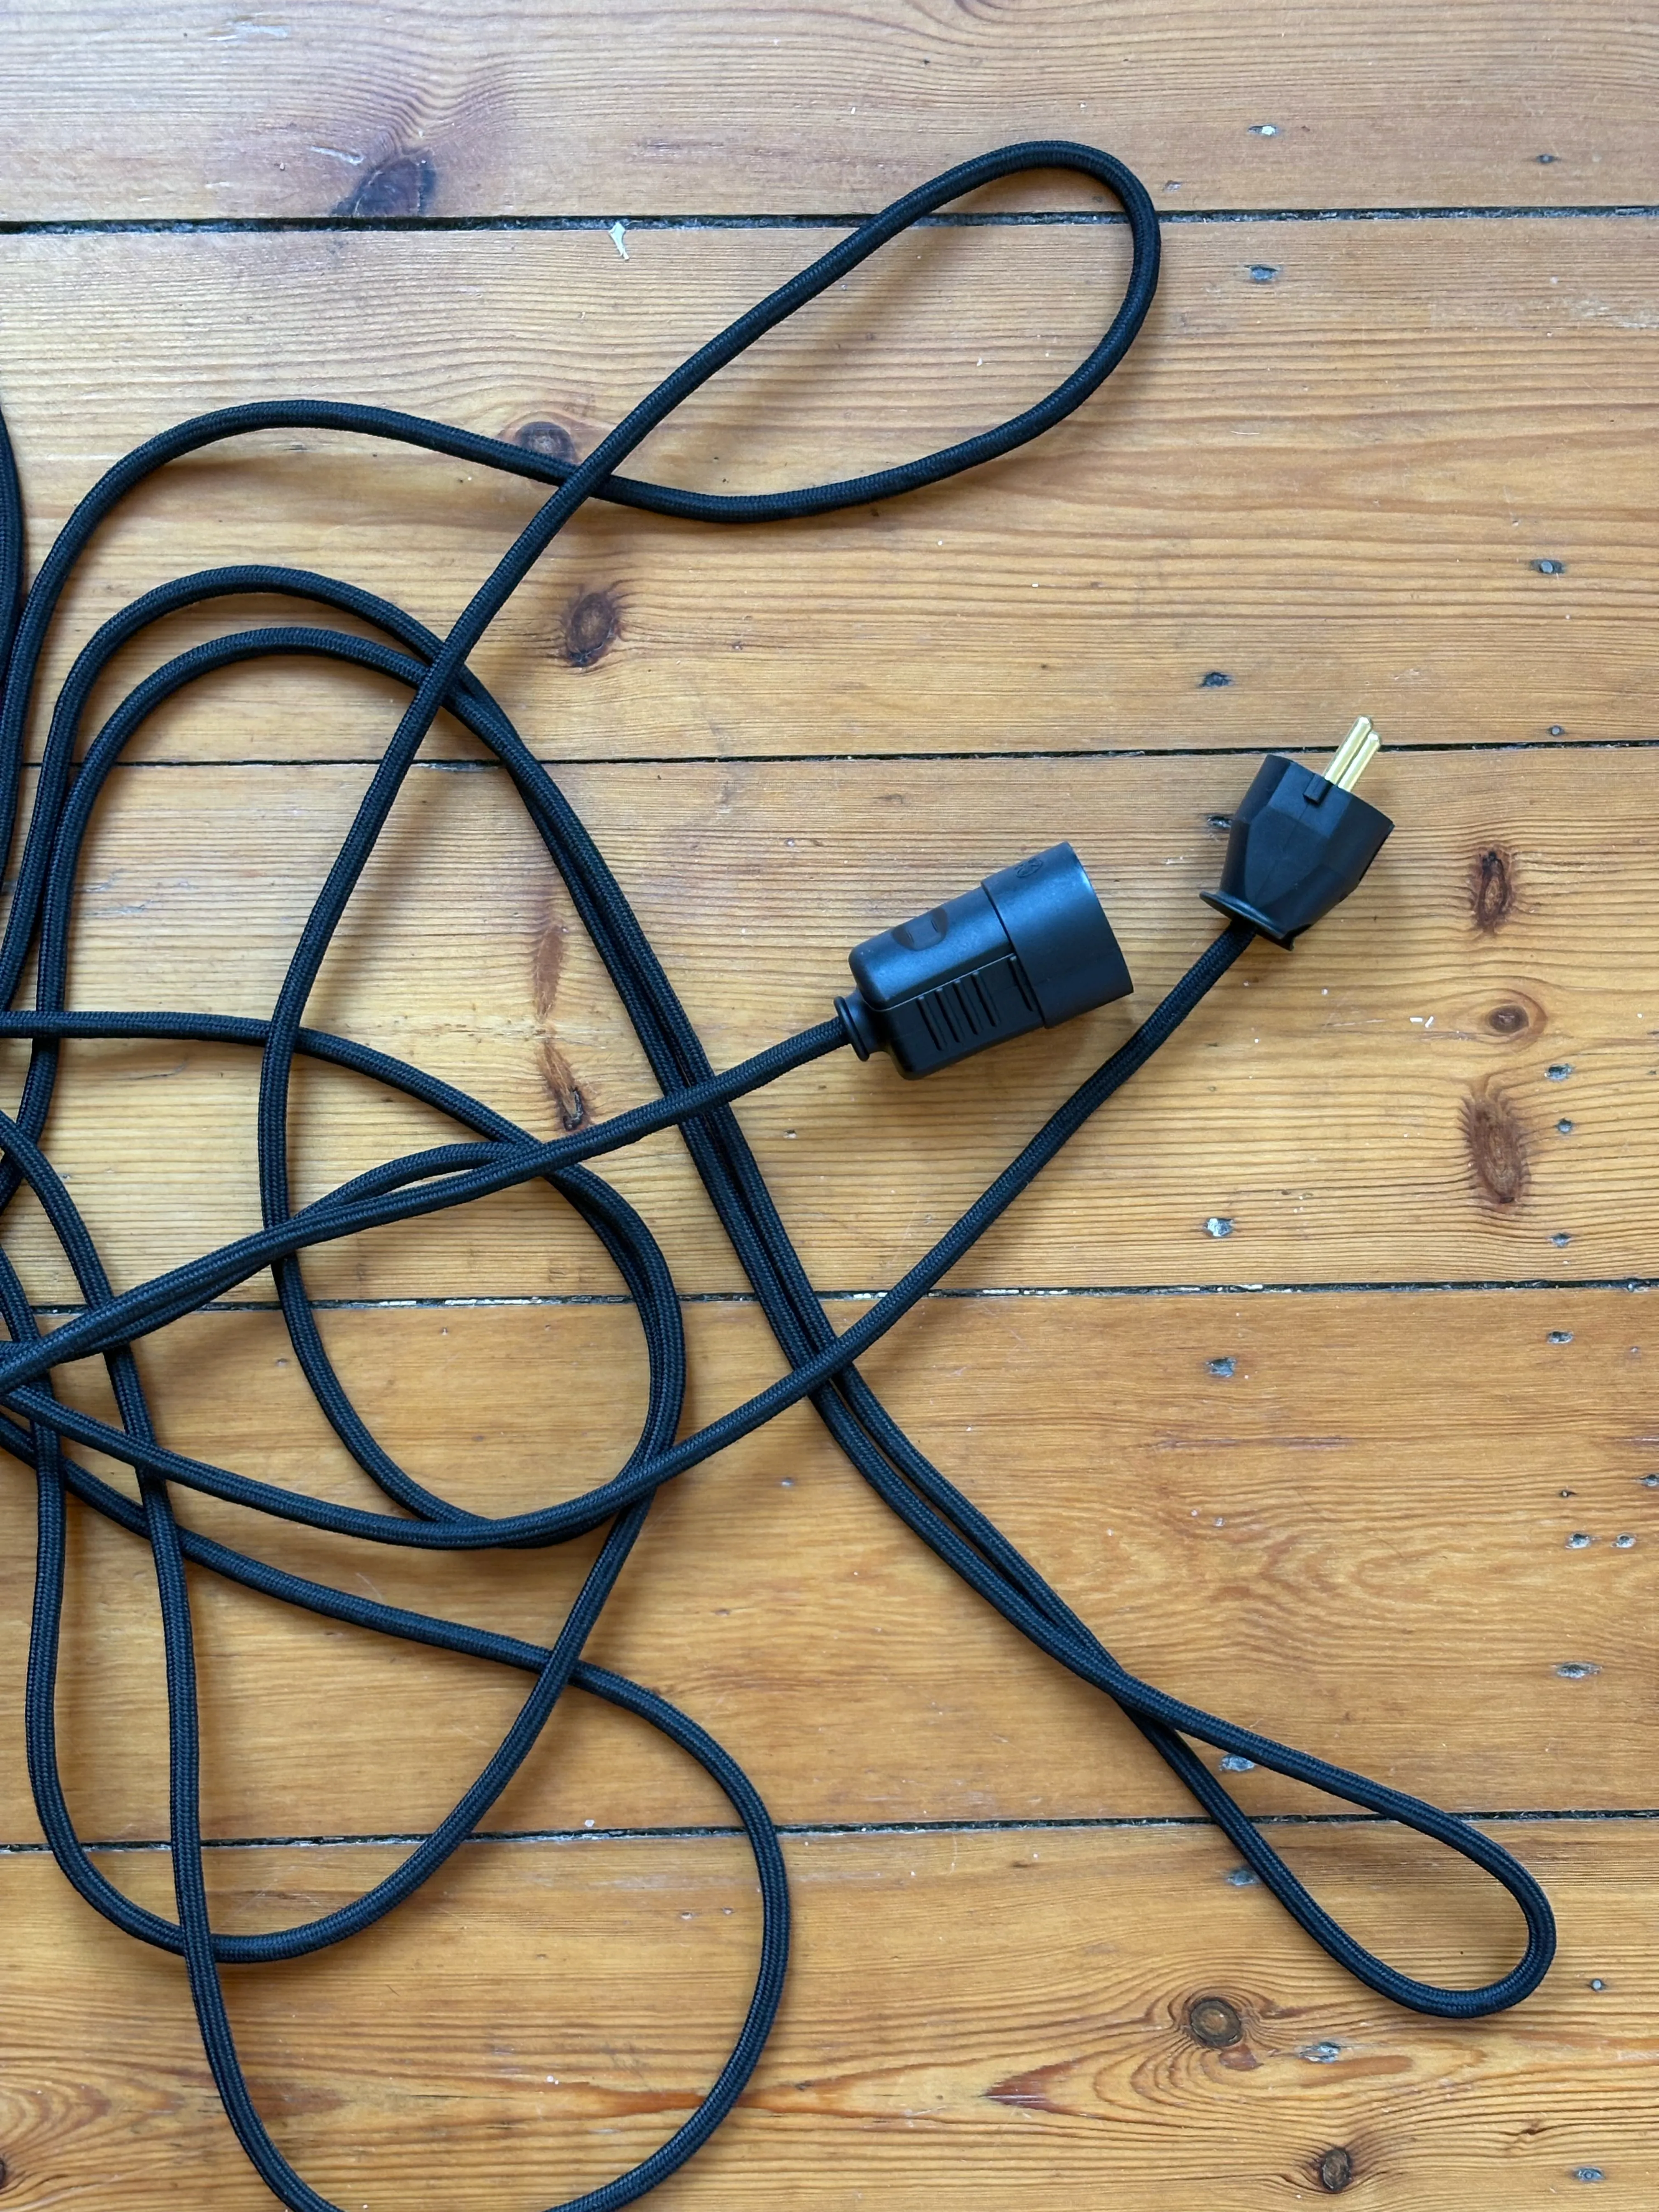
A custom extension cable
To make the system useful, the phones need to be far apart. I built a custom extension cable to bridge the distance between rooms.
Halfway through the process, I had a realization: I was essentially just building a standard extension cord. Would the project work with a normal, mega-long extension cable? Probably. But I haven’t tested that out yet. However, I don’t see any reason why it shouldn’t work.
Testing!
It was time for the ultimate test. I placed Phone A in my bedroom and carried Phone B through the entire house to see if the signal would hold up.
A big thank you to my dad for being my first customer and hopping on a test call with me. The conclusion? It works! The connection remained perfectly stable. The loudness didn’t drop at all, which means the signal can handle the distance without any issues.
But still a little quiet?
The only catch is that the volume is a bit low. There’s a good technical reason for this: safety. Back in the day, telephone lines were powered by 40V to 50V DC. Currently, I am running the handsets on just 12V DC to keep things safe and avoid any more transformer incidents. If I were to crank up the voltage, the sound would definitely be louder, but for now, I’m prioritizing a quiet conversation over another trip to the hardware store for a new power supply!